
“You never get a second chance to make a great first impression.”
For many brands and organizations, a website homepage serves as a virtual front door and the first touchpoint you’ll have with potential customers. Suffice to say, this is some valuable digital real estate that doesn’t just need to look good and be aesthetically pleasing (though that’s certainly important), but also needs to take users on a memorable and unique journey that speaks to them. In this blog, we break down, step by step, how to create the perfect website homepage + include sample wireframes of each section.
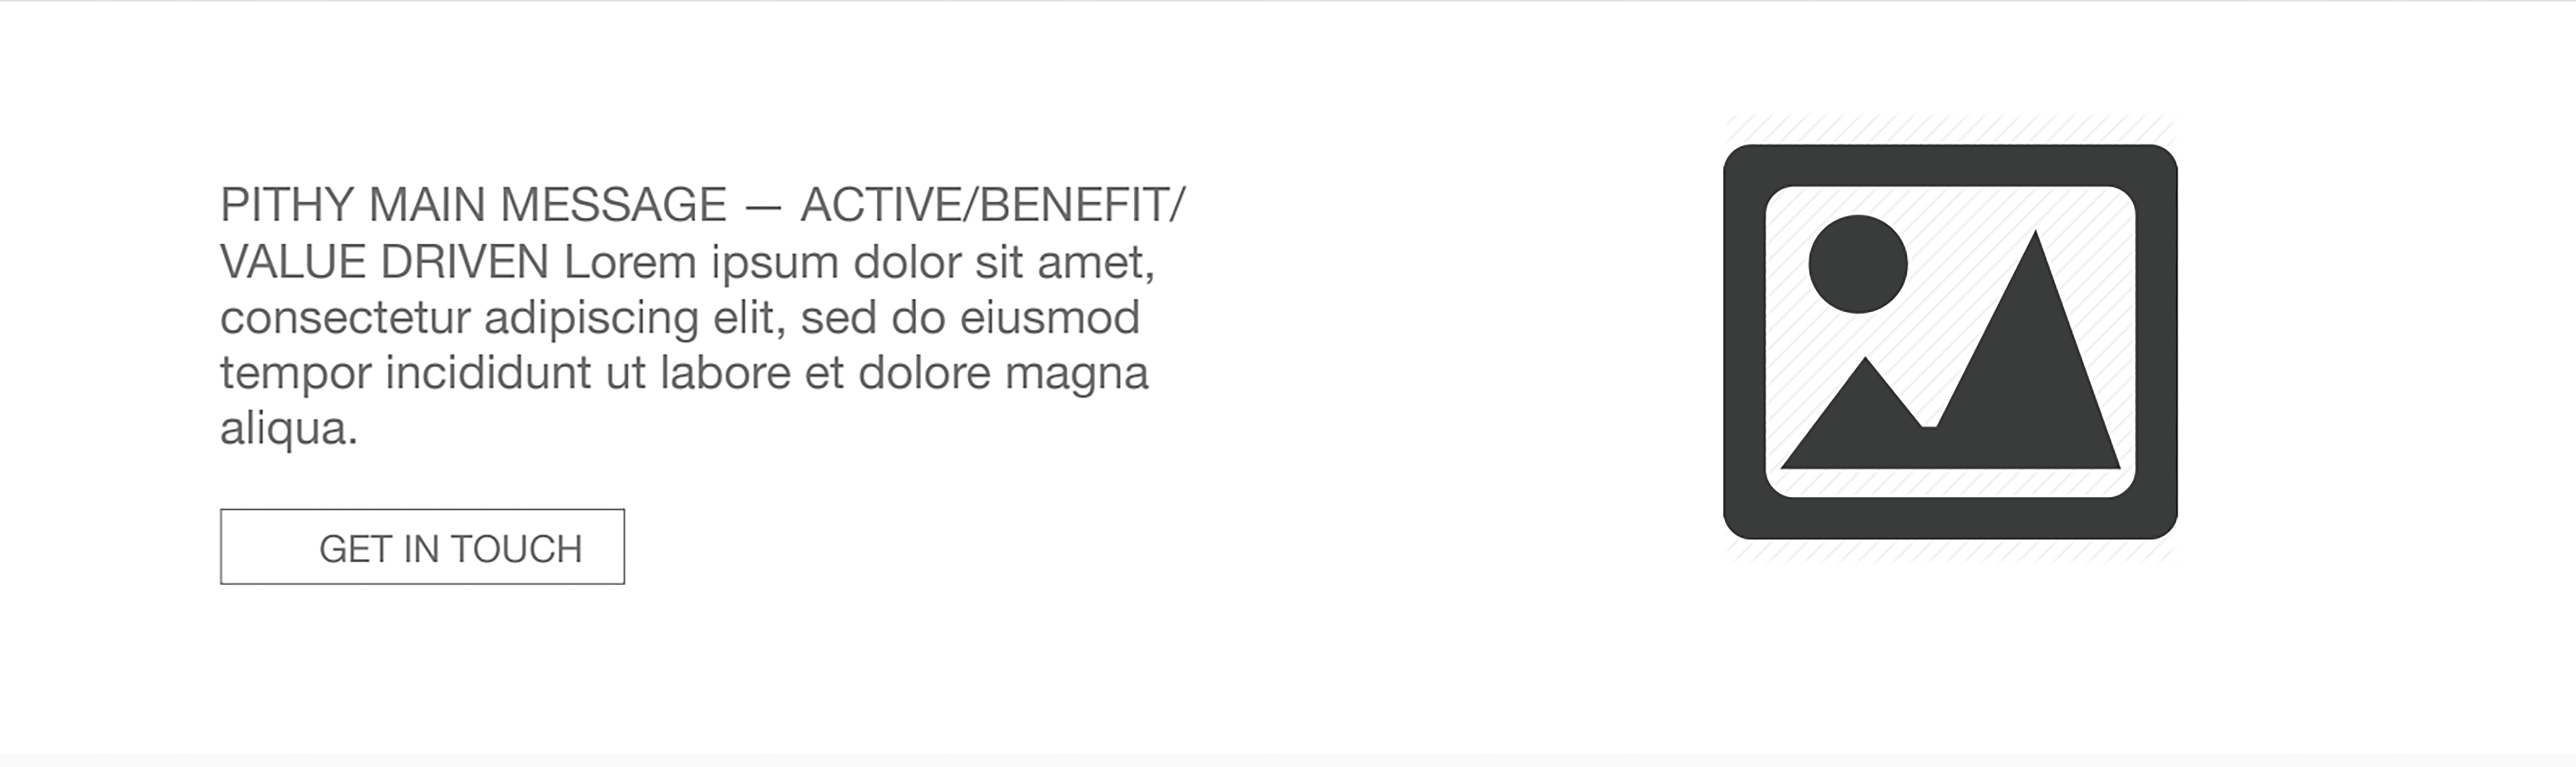
Step 1: Hook the user. The first few seconds someone visits a homepage are the most important. In that time, it should be clear to the user how this product or service is going to address their needs. While your gut may tell you to use the top of your homepage as an “about us” section that immediately dives into talking about you and your services, we encourage you to hold off on that for now. Instead, determine who your target audience(s) is and think about what their pain points are. From there, create a pithy message that speaks to the value of your service or product and pair it with an eye-catching image that connects to the message and audience. Lastly, incorporate a call-to-action (CTA), which will typically be a button (or multiple buttons), that directs the audience to where you want them to go next.
Step 2: Validate your company. Instilling trust is one of the top goals of any brand or business, and one of the fastest ways to do that is by showing off that other reputable brands have worked with you with a logo bar. Because as the saying goes, “if you’ve got it, flaunt it” and if you have the track record, here’s the time to show it off. Regardless of the industry you’re in, showing that other people have already taken the leap and used your service or product goes a long way in validating you to new customers.

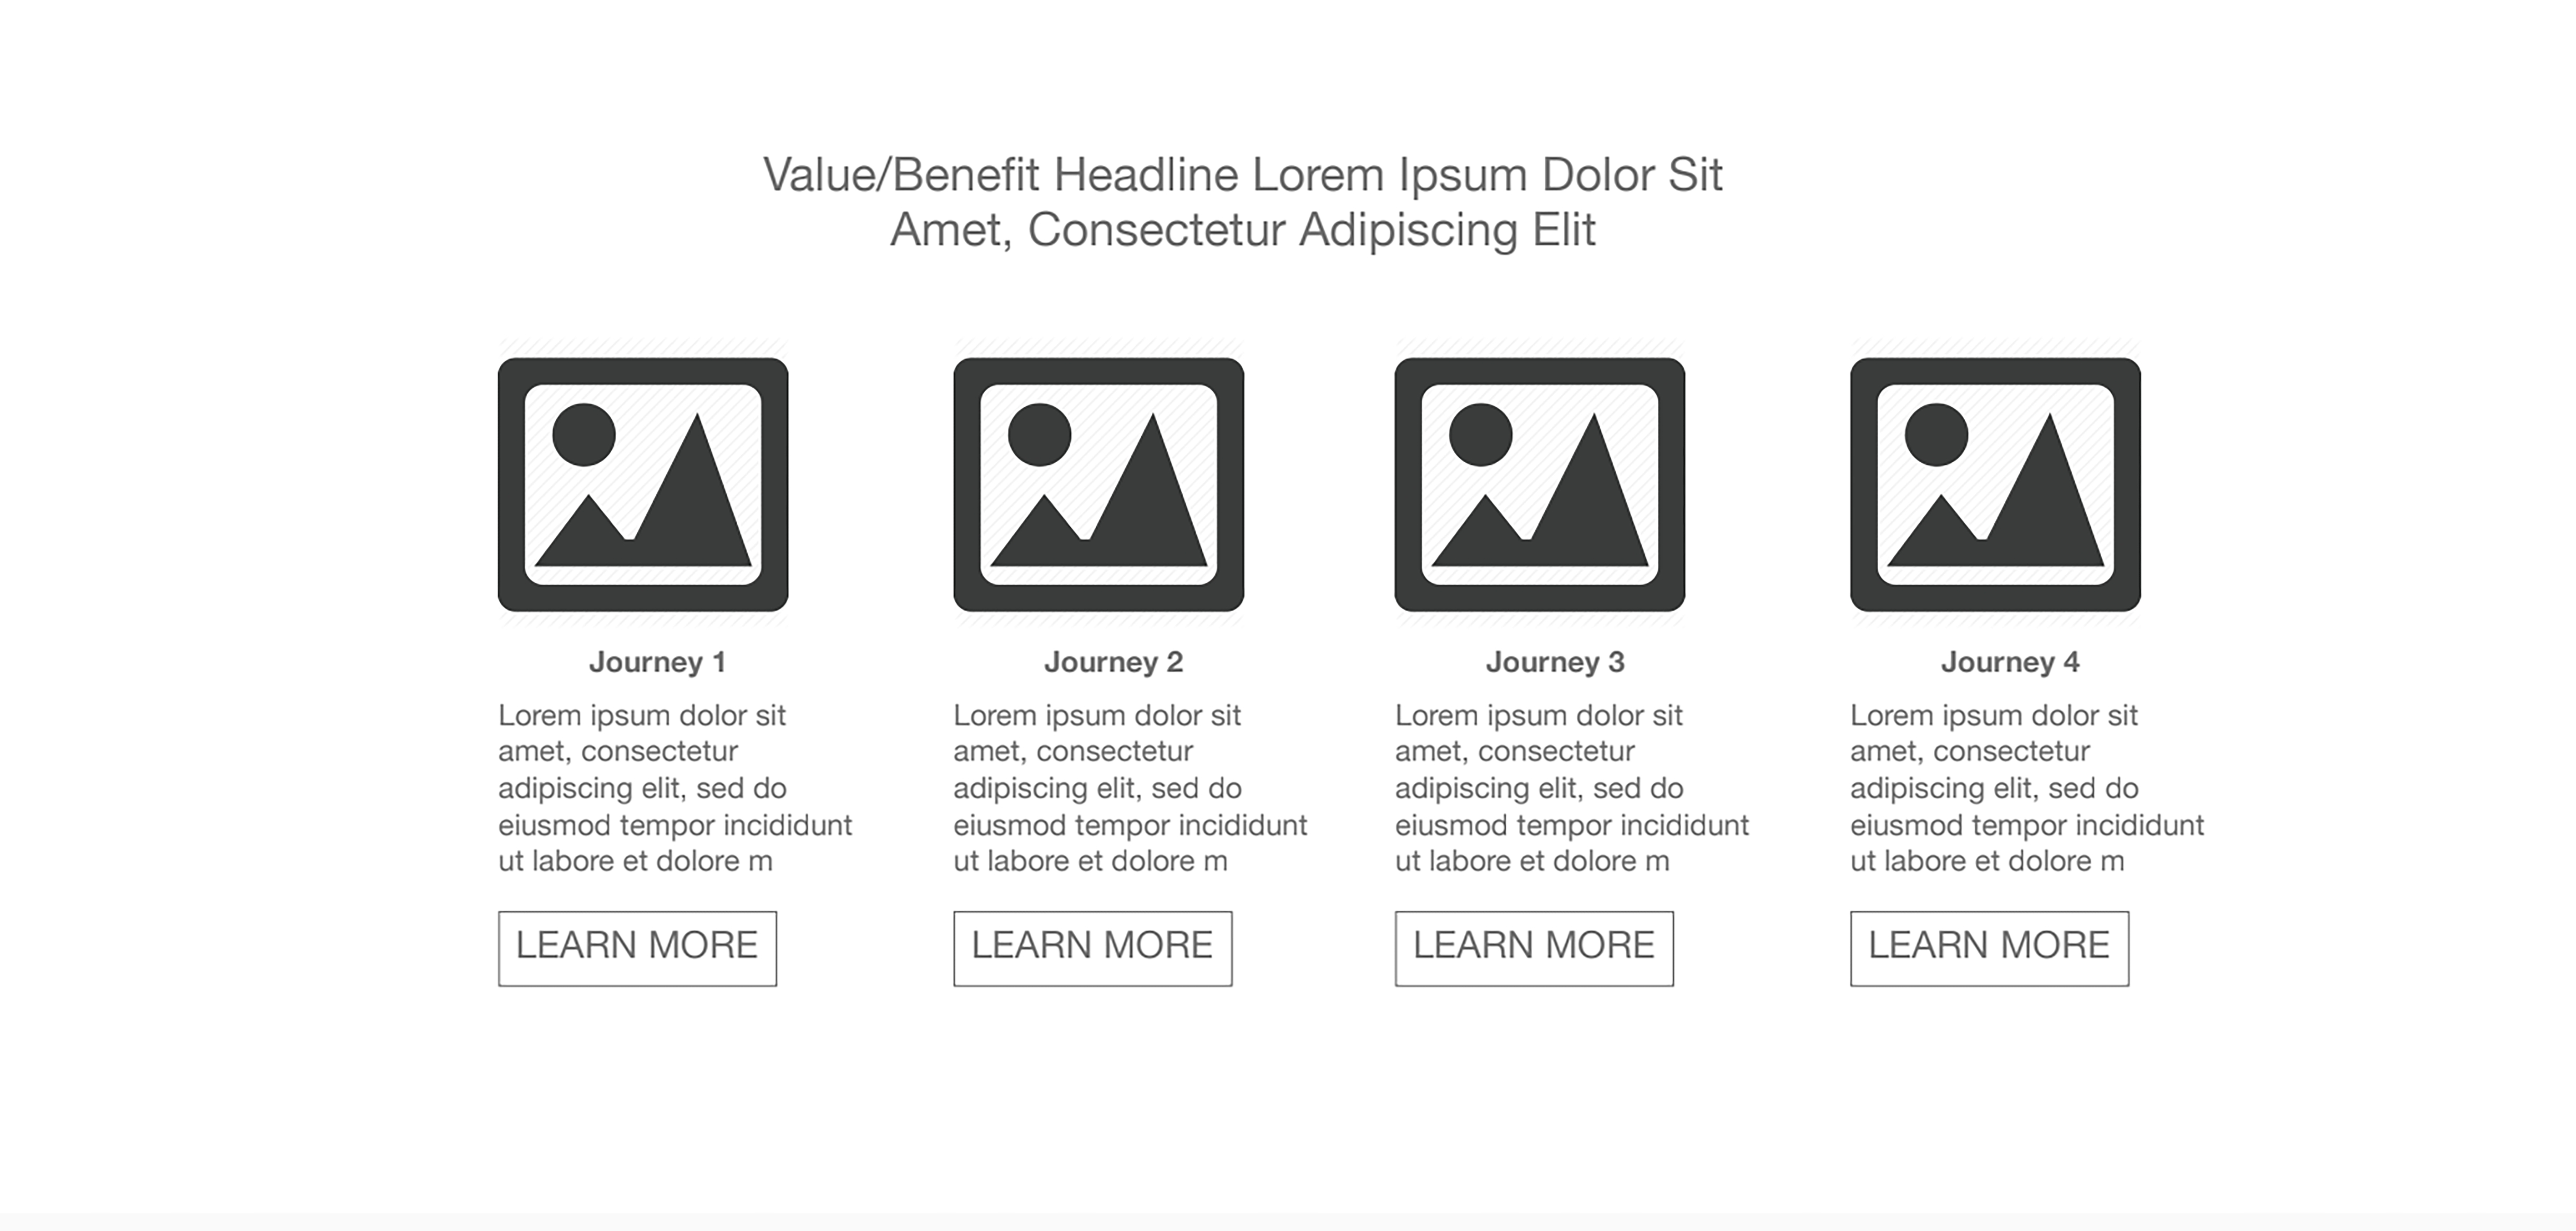
Step 3: Create the gateway to your customer journey(s). Chances are you’ll have multiple audiences you’re speaking to based on the unique needs your product serves. What many businesses fail to realize when they set out in making a website, is that people don’t care about you. Not at the beginning, at least. They want to know what’s in it for them. What value or benefits are they going to derive from buying your product or service? How are you going to make their lives easier? Put yourself in the shoes of the buyer and imagine how they’re thinking about their problem, not how you are thinking about it internally. From there, create categories with content tailored to these unique needs that users can self select and start their journey. For instance, are they working for a certain type of company or industry? Are they at a certain point in their journey that’s different from what another user’s might be? Be sure to understand who you’re talking to and meet them where they are.
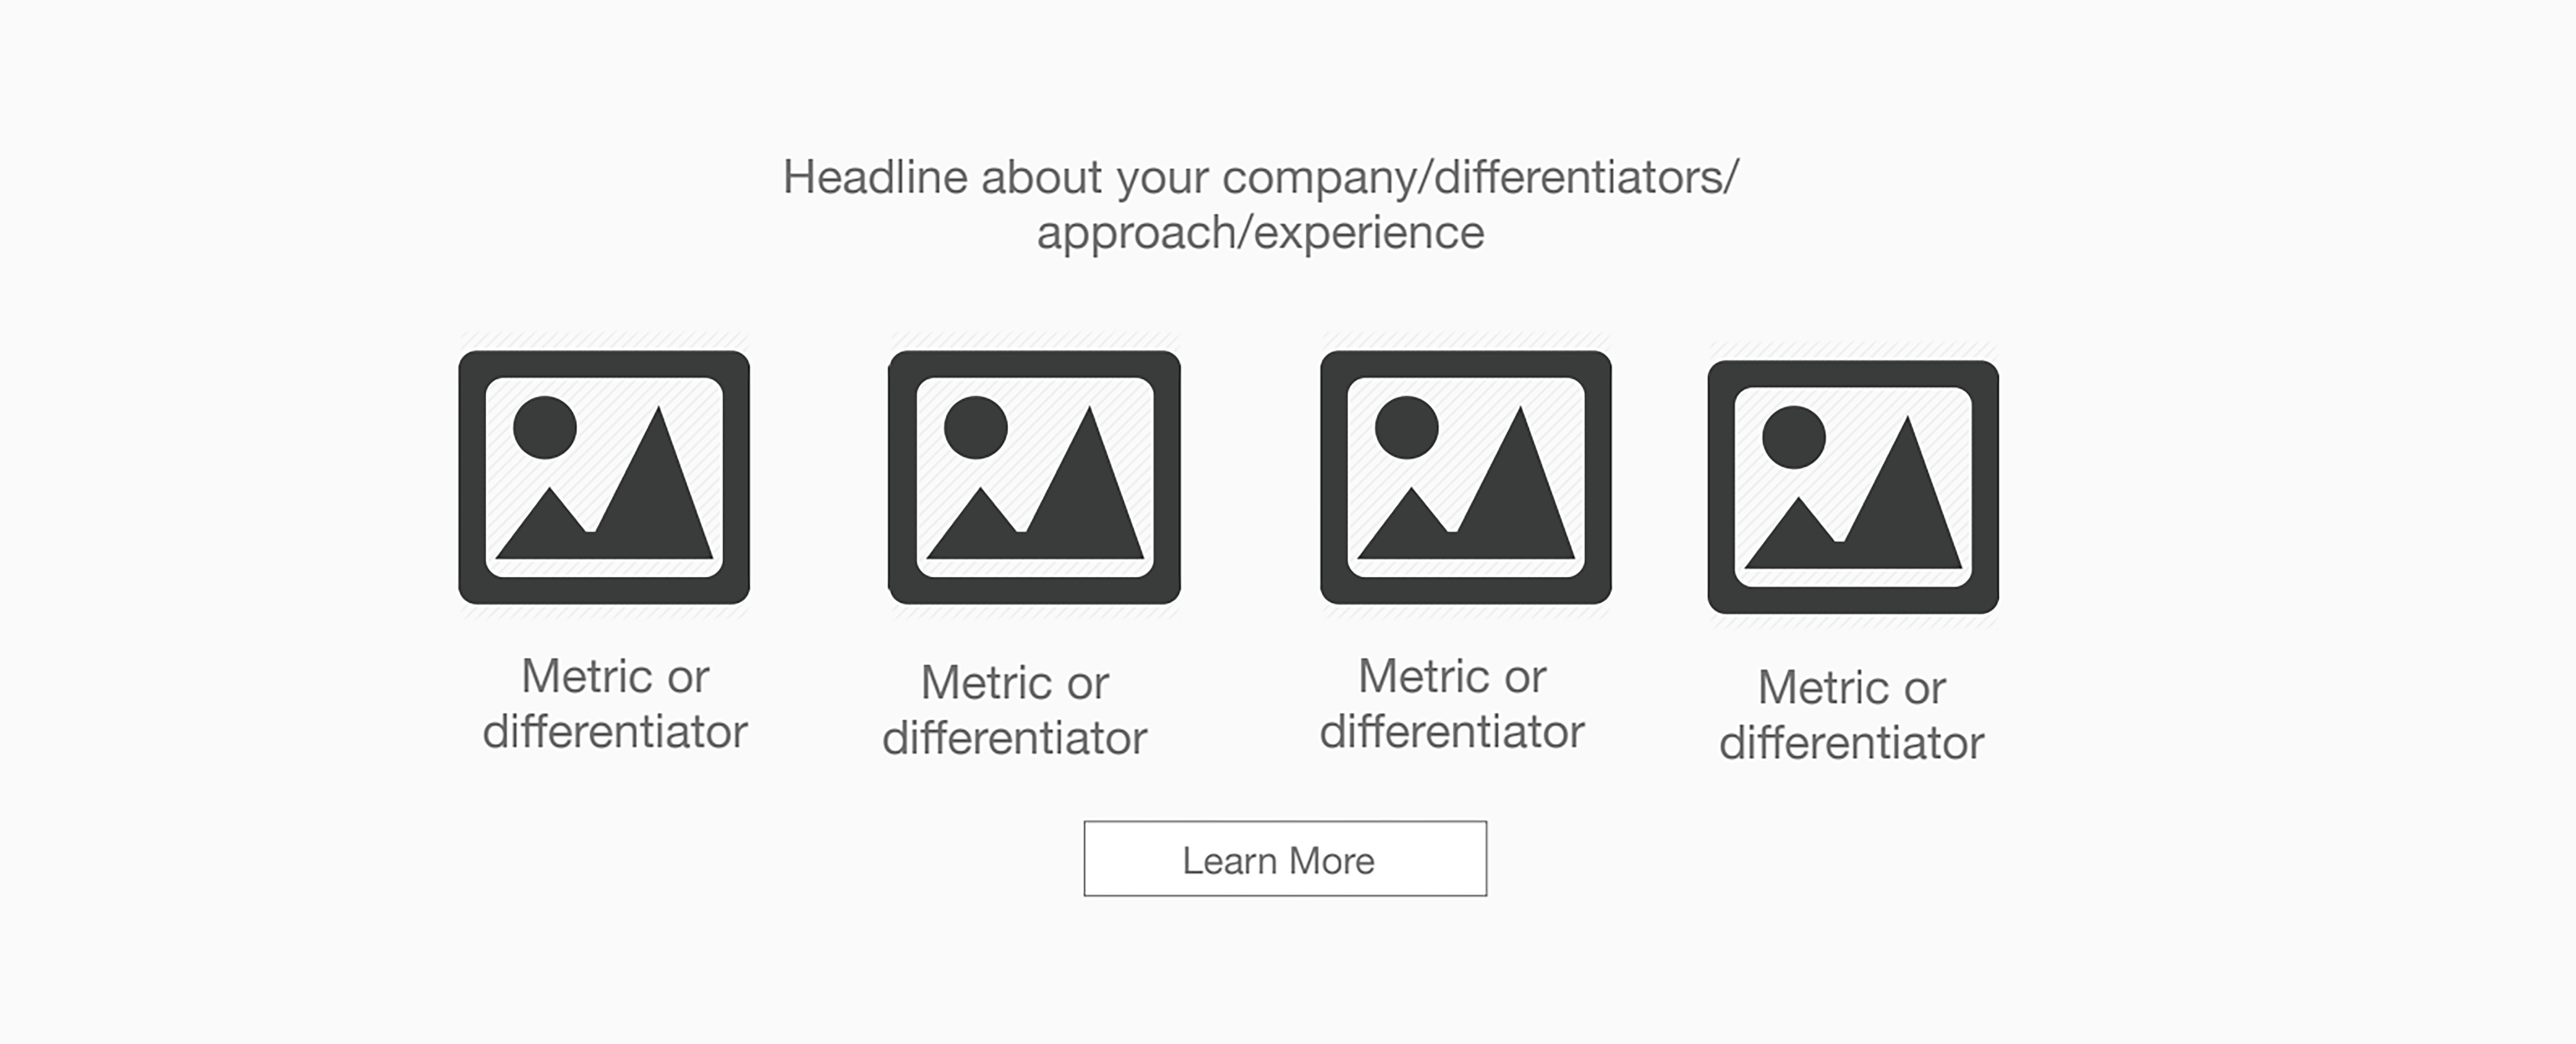
Step 4: Differentiate yourself from the competition. Ok, now you can talk about yourself. It’s a competitive, saturated marketplace out there these days, regardless of the industry, which is why you need to do everything you can to set yourself apart. This is where you can dive into your company’s main differentiators, highlight your approach, and amplify your experience through statistics and other tangibles. Get specific about why you’re different.
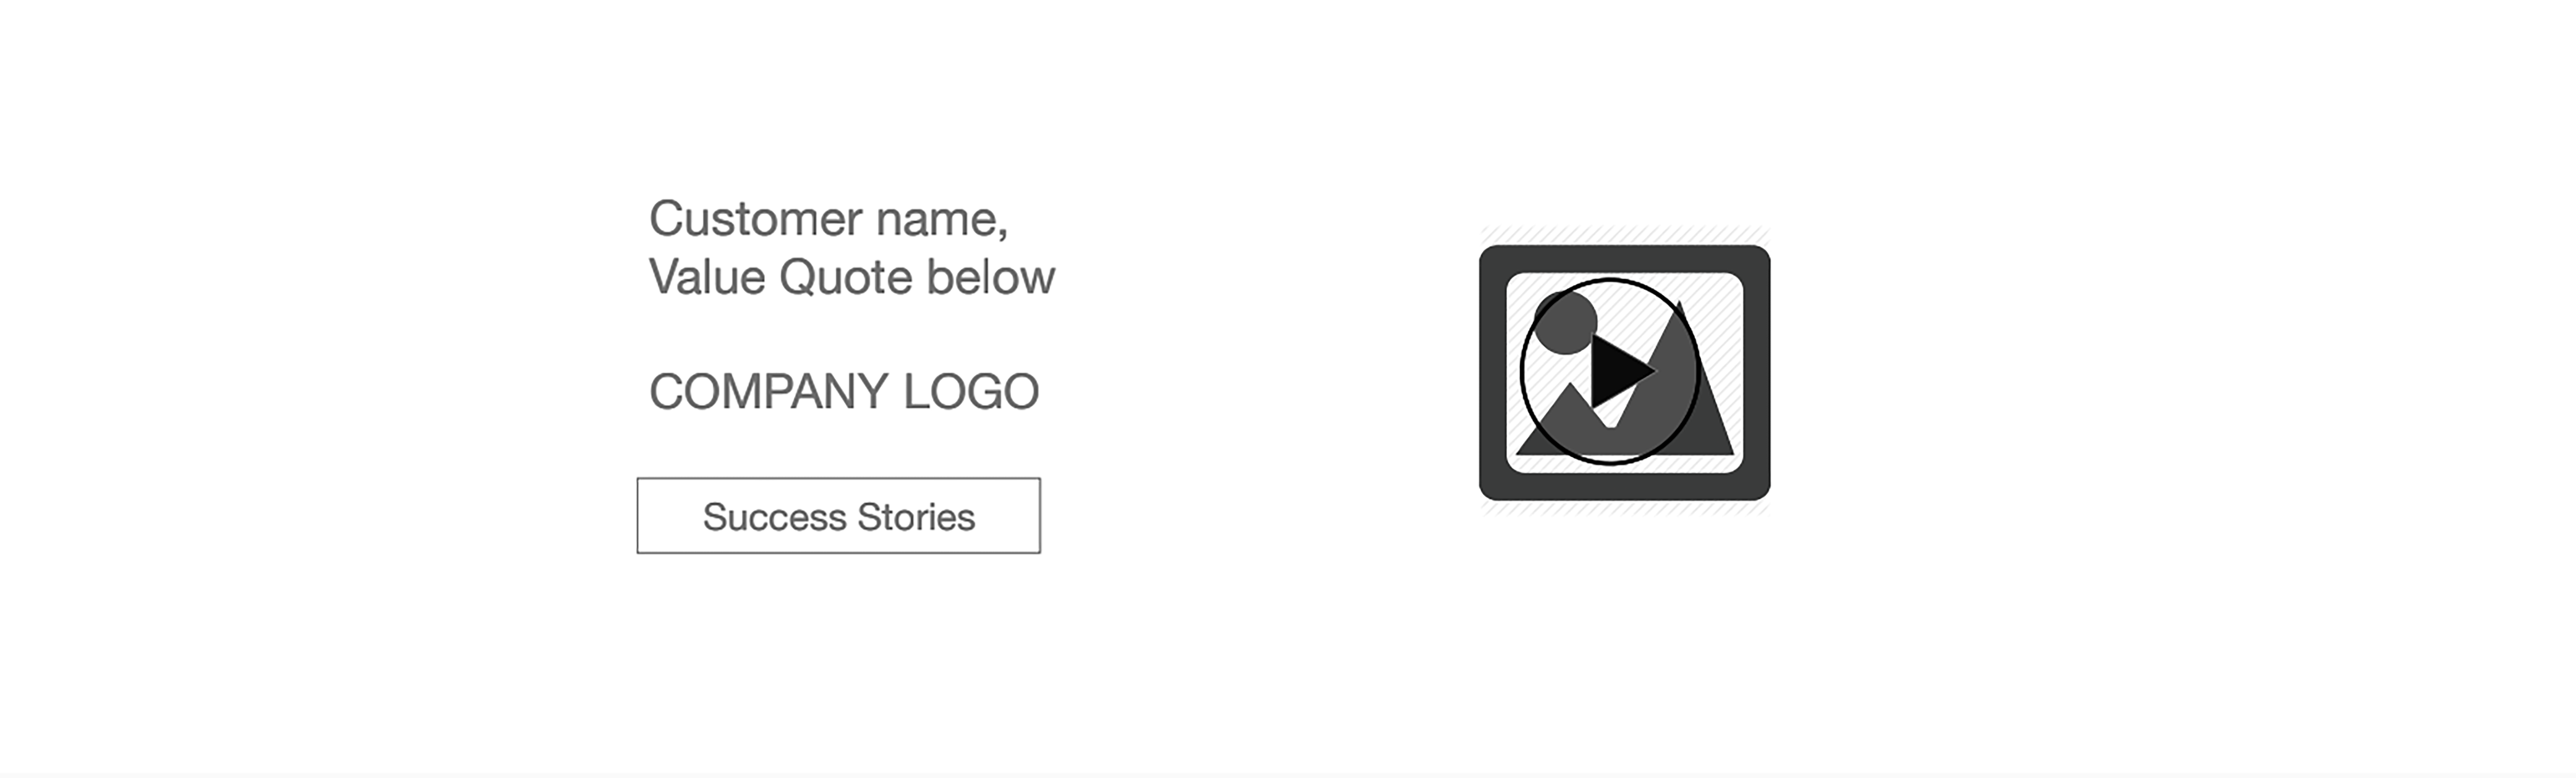
Step 5: Let someone else speak on your behalf. Similar to the logo bar, one of the best ways to sell your product or service is to have someone else do it for you. Customer testimonials provide social proof, demonstrating that real people have had positive experiences with your product or service. Not only do testimonials build trust and credibility, but oftentimes they provide concrete examples of how you’ve solved a similar customer’s problems.
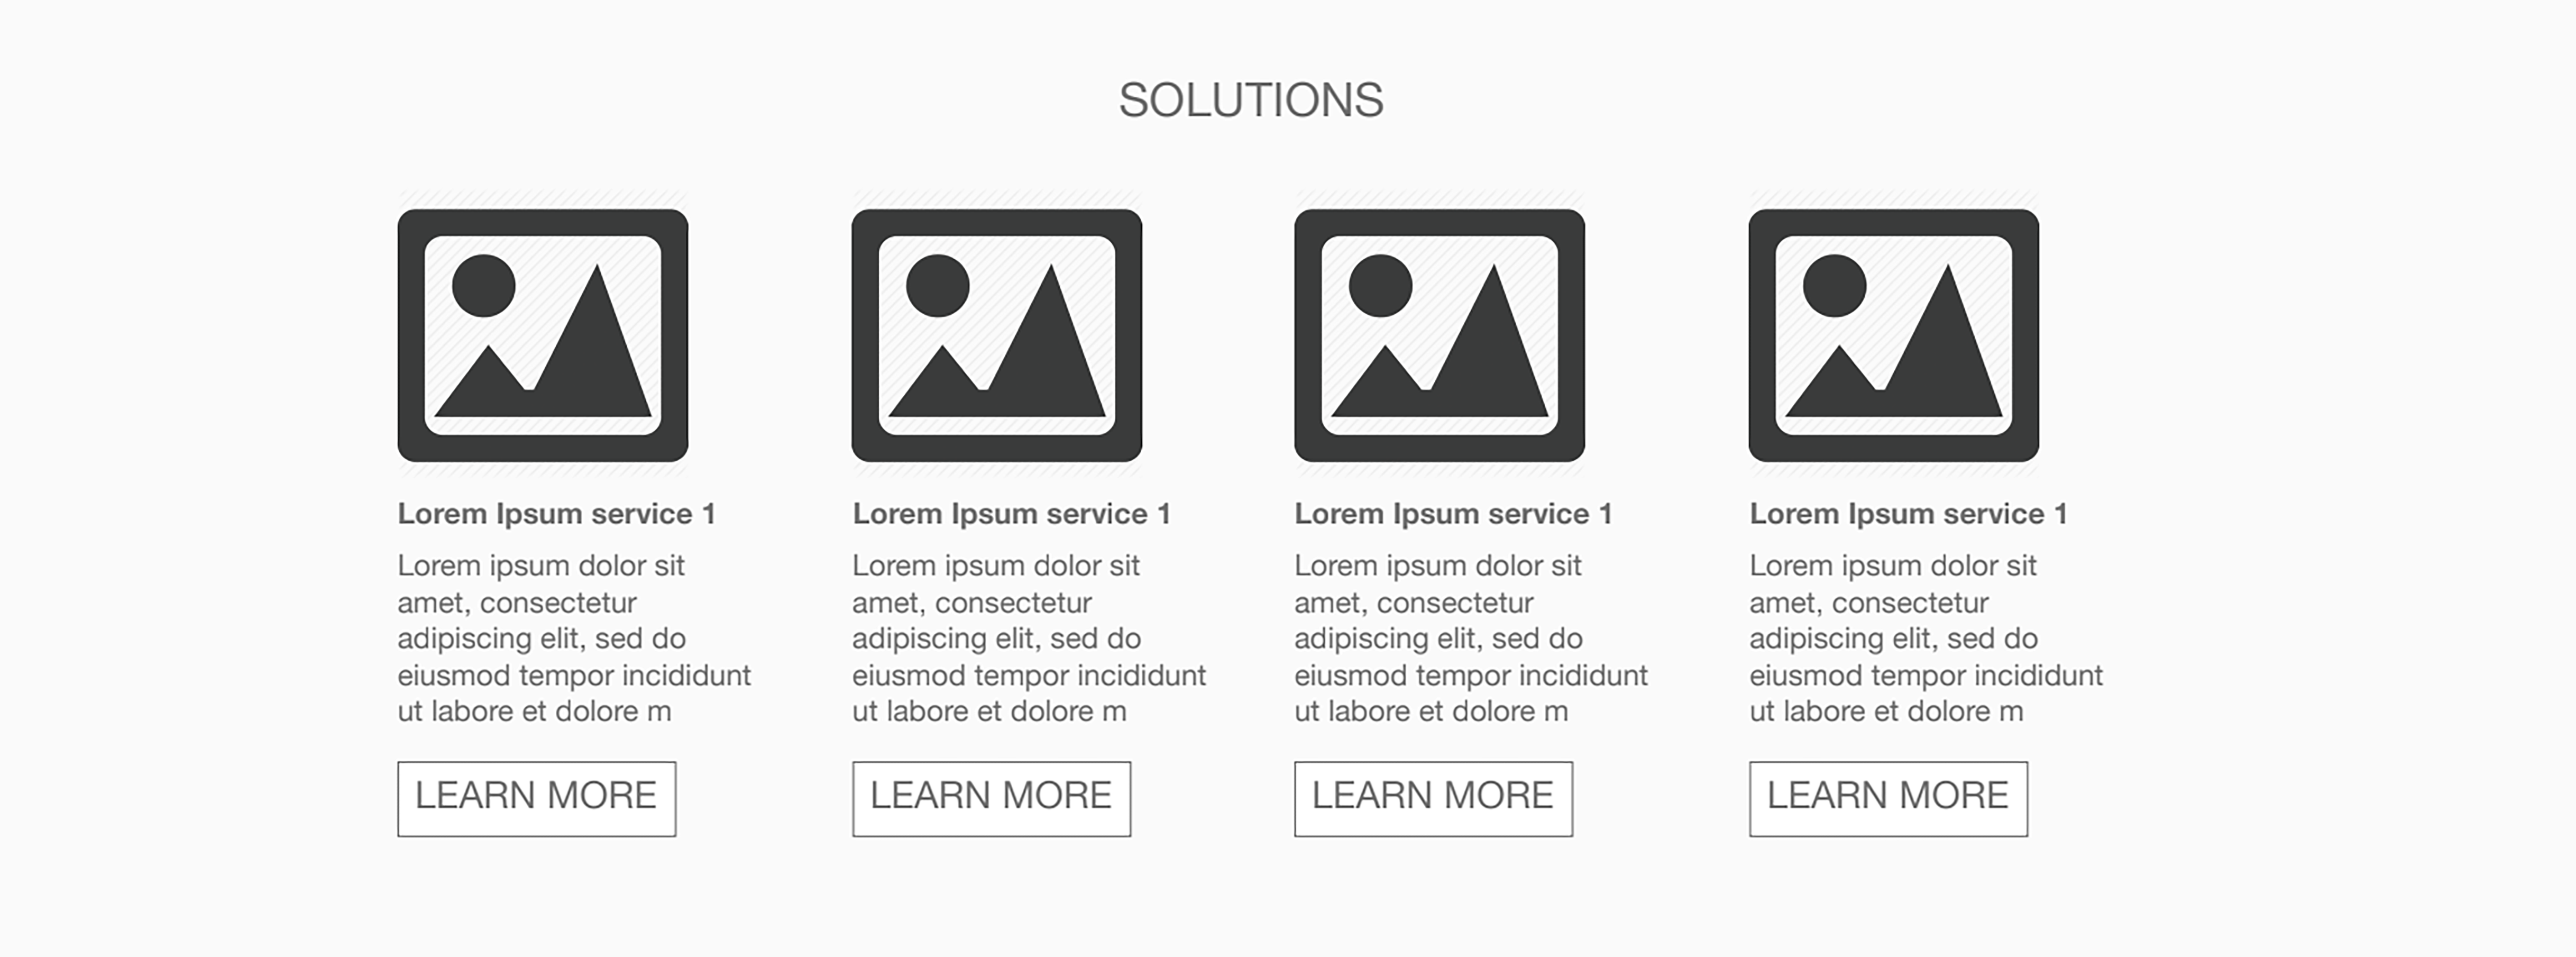
Step 6: Highlight the solutions you’re providing. Here is where you highlight the specific products or services that meet the needs and challenges of your target audience. Be sure to use clear language to help visitors quickly grasp what you do, followed by a concise description of how it addresses specific customer pain points. Visually, make sure the graphics, icons, or imagery represents each solution. You wouldn’t believe how many websites we’ve seen with imagery that feels so far out of place, you would almost think it was a joke. Even if you are using stock images, which many people do, it should still tie in to what you do and the story you’re telling. This holds true across your entire site, not just the solutions section.
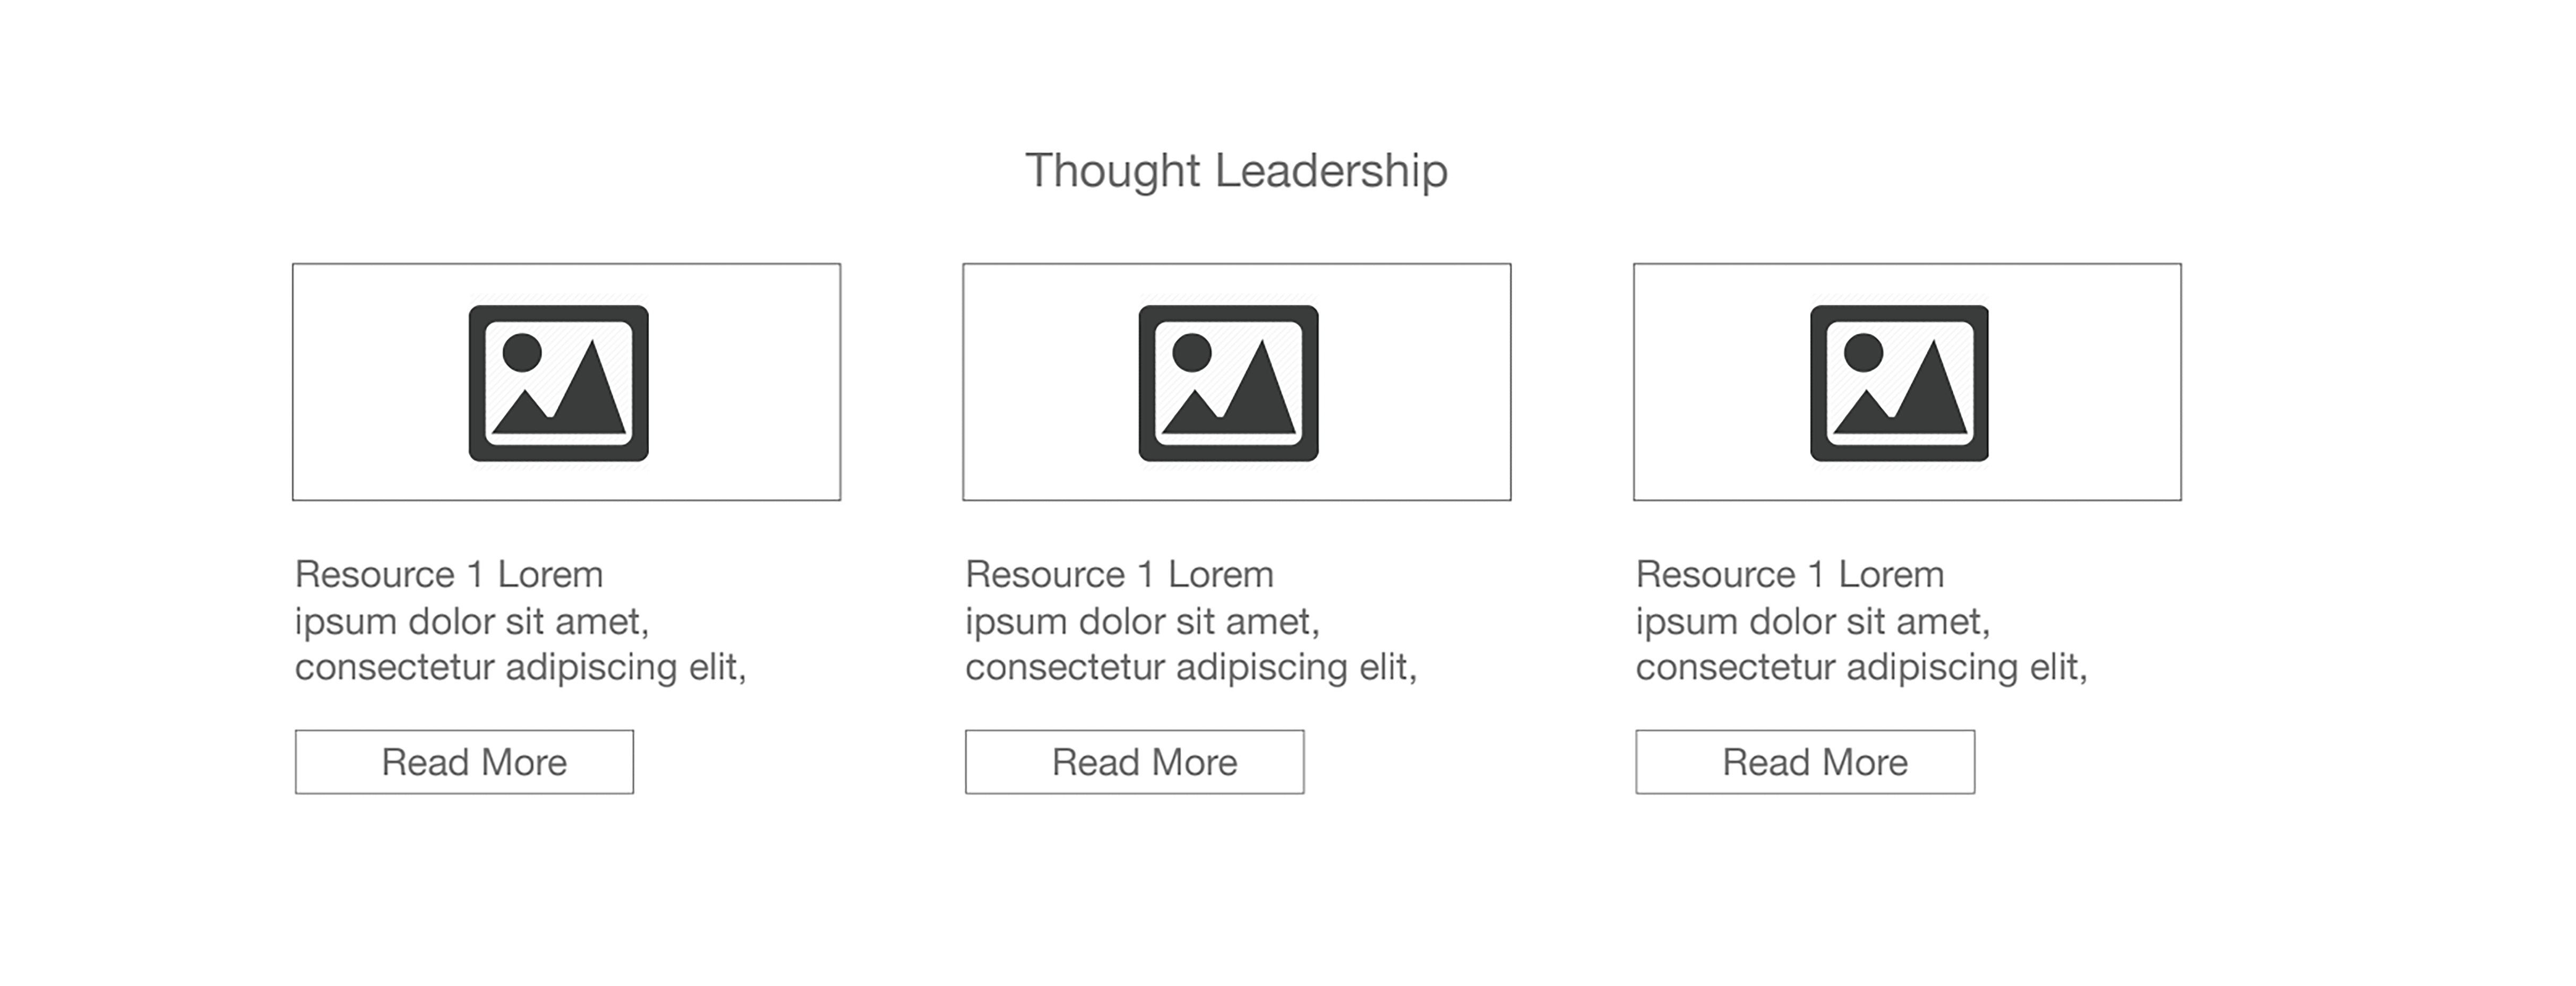
Step 7: Show that you’re a thought leader. If you have a blog and/or news section on your website, this section of the homepage is a great place to highlight top articles to entice the user to dig deeper. This only helps you further establish credibility and build trust.
Step 8: Get those emails! Lastly, if you’re acquiring a mailing list (which most businesses are, or at least should be), a sign up form should close out your homepage, before the user gets to the footer. Ideally, a user is hooked and sold on your business or product by the time they get to this point, so if they want to learn more and stay in touch, give them the option!

Ultimately, it can be tempting to want to pack a lot into your homepage, but keep it as concise as possible, avoid long paragraphs, and again, make sure your imagery is connected to what you do. As more and more of our daily lives, and businesses, revolve around the digital space, your online presence is paramount. By investing time and resources into a thoughtful homepage design, you can create a strong foundation for your business that leaves a lasting positive impression on your customers. Remember, you only get one chance to make a good first impression.